
If you’re planning a kitchen remodel, one of the most common questions homeowners ask is: how long does kitchen tile installation take? Whether you’re updating a backsplash, replacing outdated flooring, or installing tile throughout the entire kitchen, understanding the timeline helps you plan around daily life and minimize disruption.
At Deano Tile, we work with homeowners across Kansas City to deliver efficient, high-quality tile installations. While every project is unique, most kitchen tile jobs follow a clear timeline from preparation to final curing.

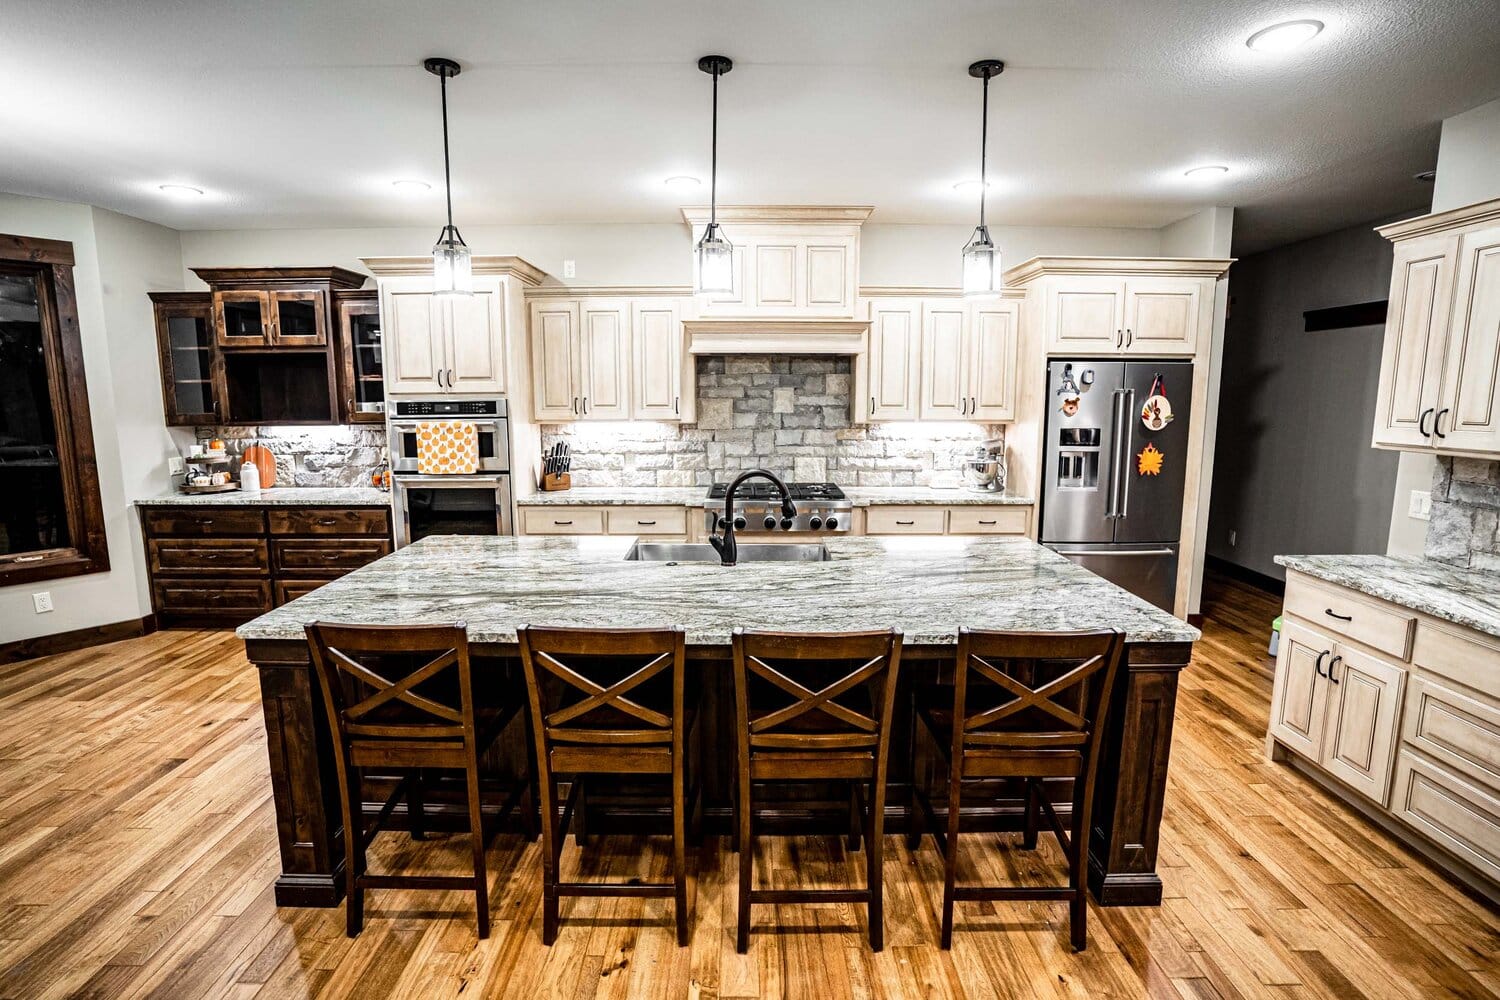
Average Kitchen Tile Installation Timeline
For most Kansas City homes, kitchen tile installation takes 1 to 3 days for a backsplash and 2 to 5 days for kitchen floor tile, depending on the size of the space and the complexity of the design.
Smaller projects, such as a standard backsplash, can often be completed in a single day, while larger floor installations or custom layouts may require additional time.
Typical project timelines include:
- Backsplash installation: 1–2 days
- Kitchen floor tile: 2–4 days
- Large custom kitchen projects: 4–5+ days
The final timeline depends on factors like surface prep, tile type, and drying time for mortar and grout.
Day 1: Preparation and Layout Planning
The first step in any professional kitchen tile installation is preparation.
Before the tile is installed, the surface must be cleaned, leveled, and properly prepared. For backsplash projects, this includes checking the wall surface and ensuring it is smooth and ready for adhesive.
For kitchen floors, prep work often takes longer because the subfloor may need leveling, repairs, or backer board installation.
This step also includes measuring the kitchen and planning the tile layout to ensure clean lines around cabinets, appliances, and corners.
A well-planned layout is one of the most important parts of achieving a professional finished look.
Day 2: Tile Installation Begins
Once the prep work is complete, tile installation begins.
For backsplashes, the tile is carefully set around outlets, under cabinets, and along countertop lines.
For flooring, the tile is installed in sections to maintain even spacing and alignment.
Simple straight layouts move faster, while custom designs like herringbone, diagonal, or mosaic patterns may take additional time due to more cuts and precision work.
Drying Time After Tile Installation
After the tile is installed, the adhesive or thin-set mortar needs time to cure.
In most cases, this takes at least 24 hours before grouting can begin. This drying period is essential to ensure the tile stays secure and properly bonded.
For floor tile, it is usually recommended to avoid walking on the surface during this curing window.
This step is similar to the bathroom tile timeline process outlined on Deano Tile’s design page, where proper drying time is critical for long-term durability.
Final Day: Grouting and Finishing Touches
Once the tile adhesive has fully cured, grout is applied between the tiles.
This process usually takes a few hours, depending on the size of the project. After grouting, the surface is cleaned and polished to remove any haze and reveal the final finish.
Some grout products may require an additional 24 hours of drying time before the backsplash can be exposed to water or before furniture and appliances are moved back onto the floor.
Factors That Can Extend the Timeline
While many projects stay within the average timeline, some factors can add time.
Custom Tile Layouts
Herringbone, chevron, mosaic, and mixed-size tile patterns require more detailed cuts and alignment.
Large Format Tile
Oversized floor tile may require extra leveling and careful placement.
Surface Repairs
If the old tile needs removal or the subfloor/wall needs repair, the timeline may extend by an additional day.
Specialty Materials
Natural stone or handmade tile often requires extra care during installation.
Why Professional Installation Saves Time
While DIY projects may take several weekends, professional tile installation keeps the process efficient and ensures long-lasting results.
At Deano Tile, our Kansas City team follows a proven installation process that minimizes delays while maintaining the highest quality standards.
Schedule Your Kitchen Tile Installation with Deano Tile
If you’re planning a kitchen remodel and want a clear installation timeline, Deano Tile is here to help. From backsplash upgrades to full kitchen floor tile installations, our team delivers expert craftsmanship and reliable scheduling.
Contact Deano Tile today to schedule your consultation and get a custom timeline for your kitchen project.