
Installing new tile in your home is an exciting way to elevate your space, whether it’s for a sophisticated bathroom, a modern kitchen, or a stylish outdoor patio. But while tile can instantly add elegance and durability to your home, improper installation can lead to uneven surfaces, loose tiles, or even long-term damage. That’s why professional tile installation is the key to achieving a flawless, lasting finish.
Curious about what happens during a professional tile installation? This guide will walk you through the entire process, from preparation to aftercare, and show you why hiring experts can make all the difference.
The Benefits of Professional Tile Installation 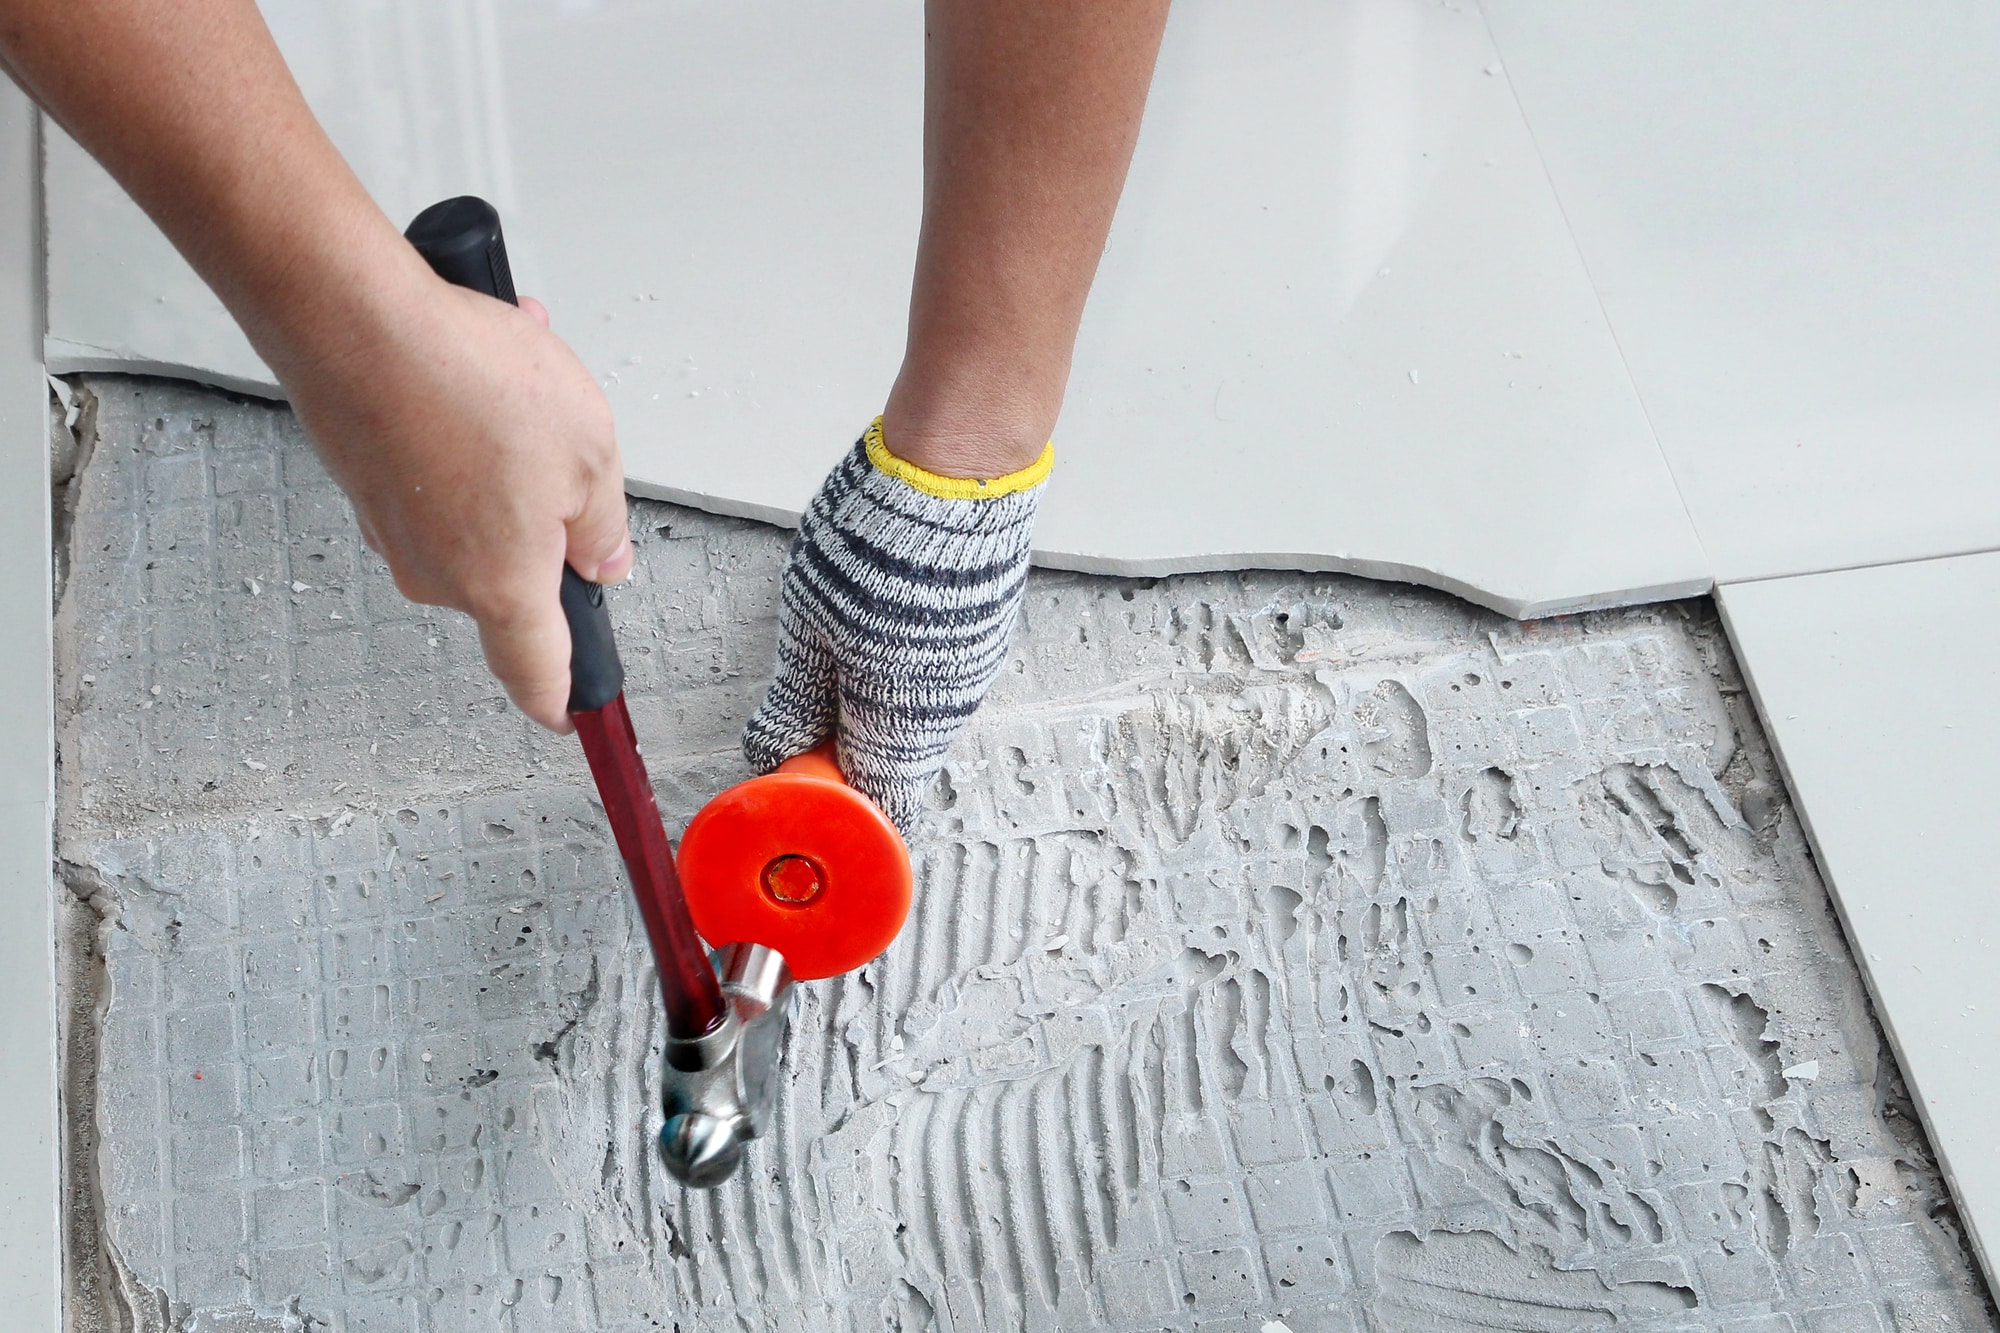
Why should you hire professionals rather than tackling a DIY project? While seemingly straightforward, tile installation is more complex than it appears. Professionals bring years of experience and specialized tools to ensure the job is done right the first time.
- Precision and Expertise: Professional installers know how to handle intricate designs like mosaic layouts or large-format tiles that require specialized care.
- Time-Saving: A professional team completes the job efficiently, saving you from time-consuming mistakes.
- Enhanced Durability: Experts ensure tiles are properly adhered and sealed, minimizing the risk of cracks and water damage over time.
With a professional at the helm, your tile installation will not only look stunning but also provide long-term value.
How Professionals Prepare for Tile Installation
Before the first tile is placed, proper preparation is critical. Here’s how professionals set the stage for a seamless installation process.
1. Site Inspection and Assessment
Professional installers start by visiting your property for a detailed evaluation. They check the condition of existing surfaces, measure the project area, and consult with you about your desired design and functionality.
For example, custom shower tile installations may require waterproofing measures, while outdoor tile installations might need special weather-resistant adhesives.
2. Surface Preparation
Preparing the subfloor or wall is crucial to the longevity of the tiles. Professionals will:
- Remove old tiles or residue to create a smooth surface.
- Address any structural issues, such as uneven floors or loose subflooring.
- Apply a suitable underlayment, such as cement board or waterproof membranes.
3. Design Planning and Layout
Once the site is ready, the design comes to life. Professionals plot the layout of the tiles, considering factors like cuts for edges, symmetry, and grout line spacing. For intricate patterns like mosaics or herringbone, precision in the layout process ensures a flawless finish.
This planning phase also lets you visualize the final result and request any adjustments before installation begins.
Step-by-Step Tile Installation Process 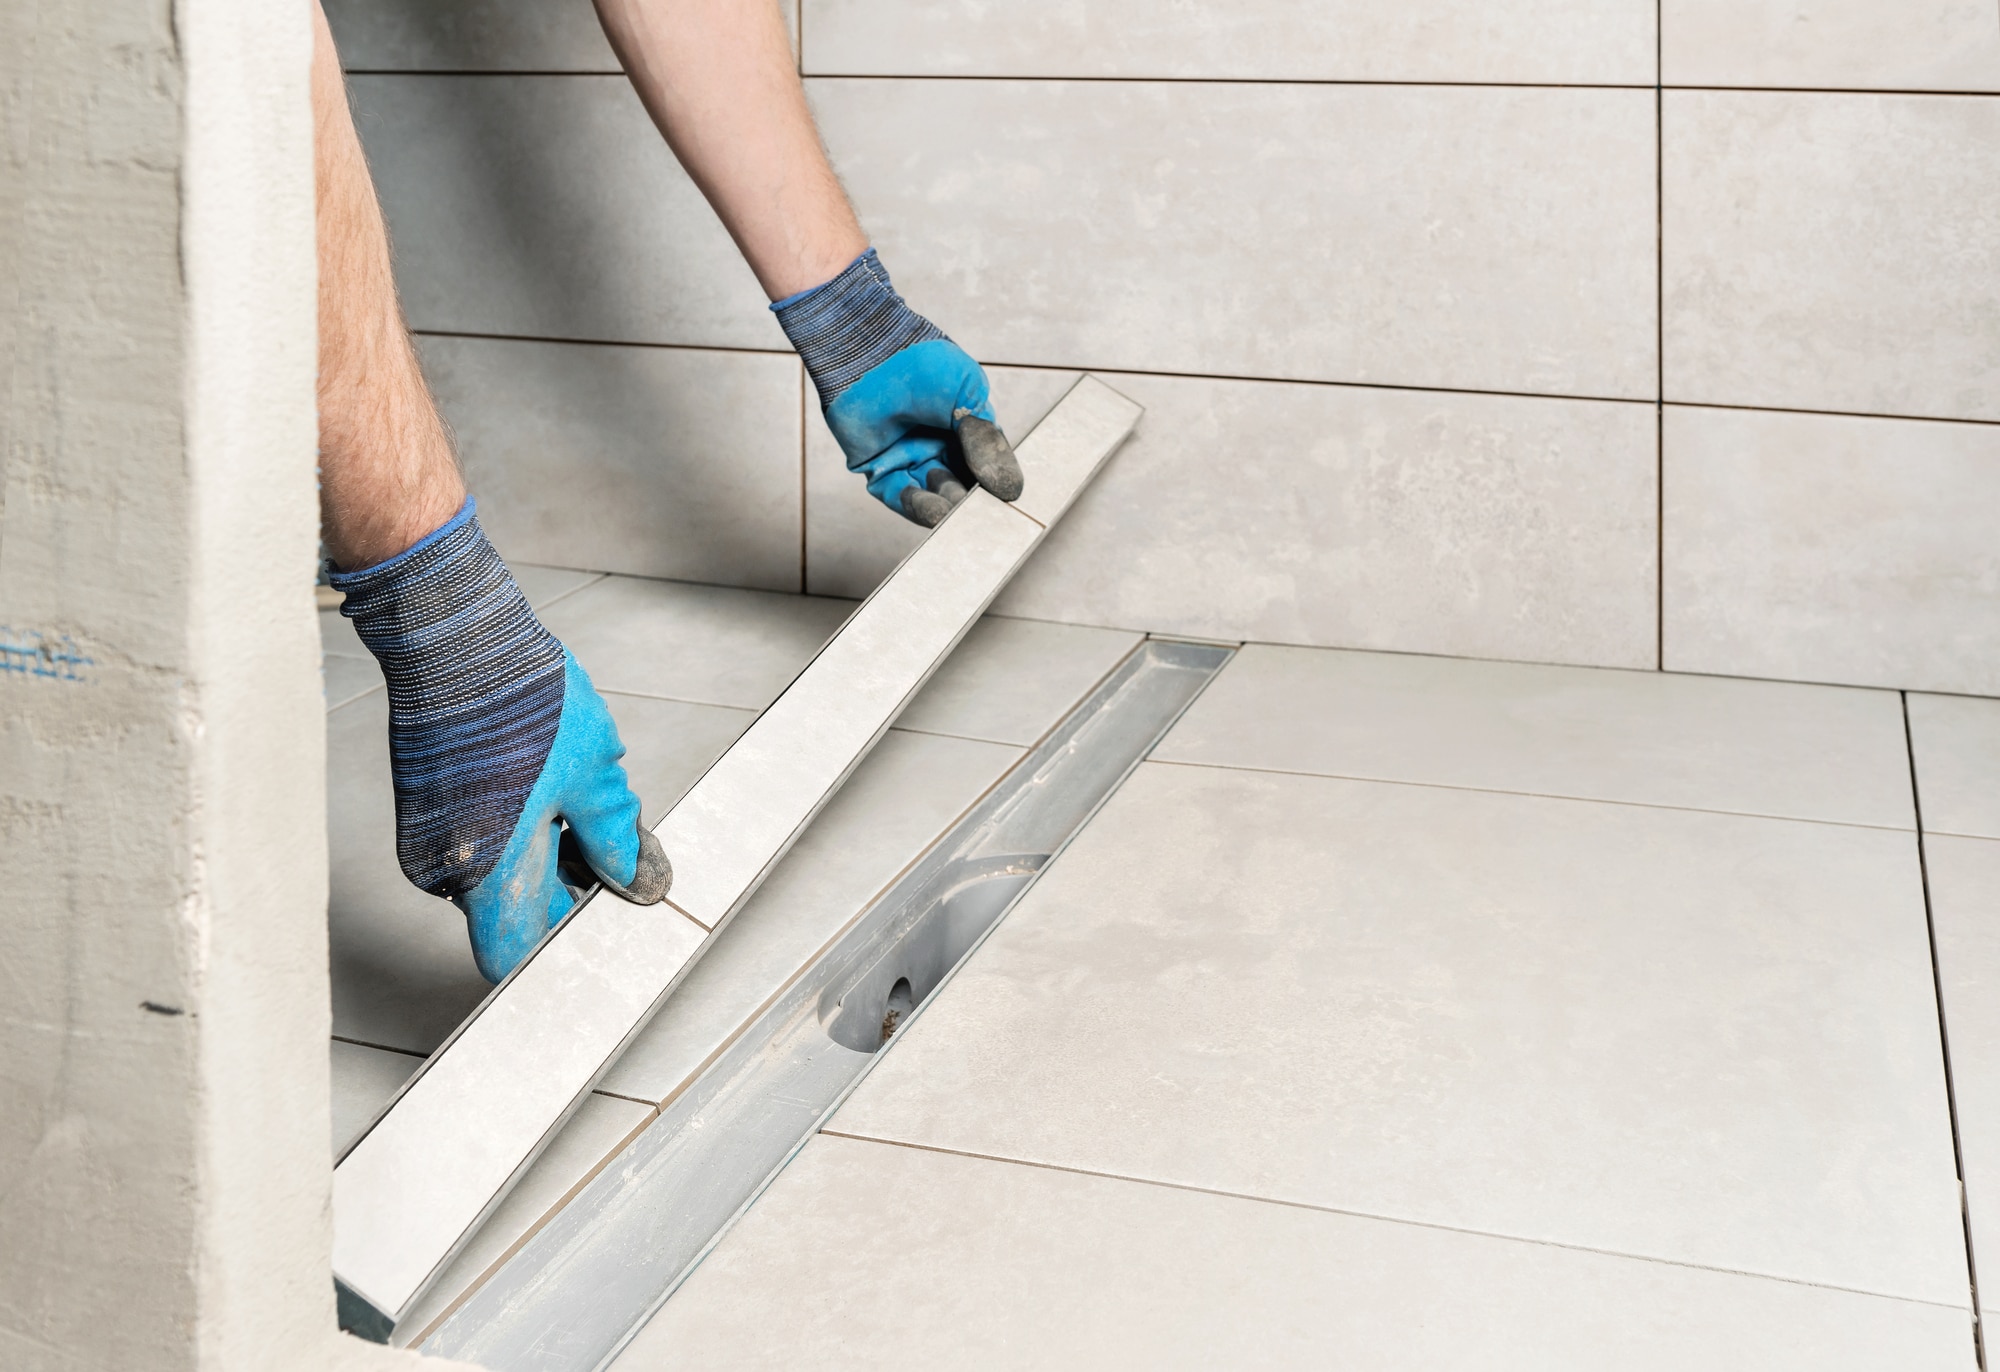
From start to finish, professional tile installation includes meticulous attention to each detail. Here’s what you can expect during the process itself.
1. Applying Adhesive
The installer begins by evenly spreading adhesive or mortar using a notched trowel. This ensures a secure bond between the tiles and the surface.
2. Laying the Tiles
Tiles are carefully placed according to the pre-planned layout. Spacers are used to maintain consistent grout lines, ensuring an even and attractive appearance.
For large-format tiles, installers often use leveling systems to prevent lippage (uneven tile edges).
3. Cutting and Edging
Next, tiles are cut precisely to fit along borders, corners, or irregular spaces. Professional installers use specialized tools like wet saws and tile nippers to achieve clean cuts.
4. Grouting
Once the adhesive sets, grout is applied between tiles to fill in the gaps. For specific styles, like mosaic installations, grout selection and application can significantly enhance the overall look.
5. Finishing Touches
Edges and seams are sealed with caulk for a polished, professional finish. The entire surface is cleaned to remove any haze or residue from grout.
Quality Control and Inspection Procedures
One of the hallmarks of a professional tile installation is rigorous quality control. Before considering the job complete, professionals will:
- Inspect the Surface for evenness and alignment.
- Ensure Proper Bonding by checking for tiles that haven’t fully adhered.
- Test Sealing for waterproofing in moisture-prone areas, like bathrooms and patios.
This thorough inspection guarantees a result that not only looks beautiful but also performs well under daily wear and tear.
Aftercare and Maintenance Tips for Your New Tile
Your new tiles look incredible, but proper maintenance is key to keeping them pristine for years to come. Here are some tips professionals might recommend:
- Regular Cleaning: Use a non-abrasive cleaner to wipe down tiles and grout regularly.
- Grout Sealing: Reseal grout annually (or as recommended) to keep it resistant to stains and moisture.
- Avoid Harsh Chemicals: Acidic or abrasive cleaners can wear down the finish, especially with natural stone tiles.
- Inspect for Damage: Address cracks or loose tiles promptly to prevent larger issues.
These simple practices will help maintain your tiles’ appearance and functionality, ensuring your investment pays off.
Why Professional Tile Installation Matters
Your home deserves the best, and professional tile installation delivers unmatched quality and expertise. Whether it’s a custom shower for your master bathroom, large-format tiles for a sleek, modern aesthetic, or a durable outdoor patio, hiring professionals ensures a result you’ll be proud of for years to come.
At Deano Tile, we pride ourselves on delivering premium tile installation services tailored to your unique vision. Our team handles everything—from design consultation to the final inspection—with precision and care.
Don’t leave your next project to chance. Schedule your tile consultation today and experience the difference professional installation makes.


Proudly Serving: Kansas City, Leawood, Lenexa, Mission, Olathe, Overland Park, Shawnee, Blue Springs, Lee’s Summit, Liberty, Raymore, the entire KC Metro Area & Lake of the Ozarks.